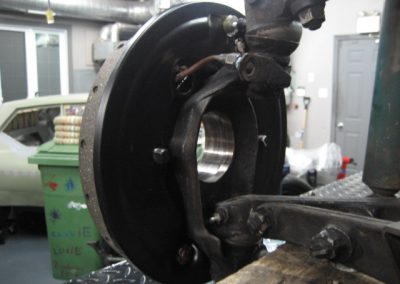
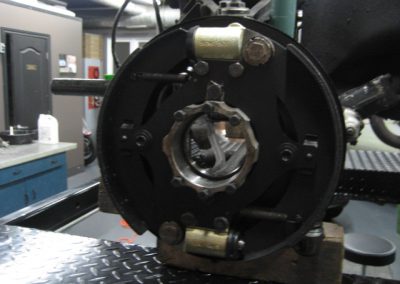
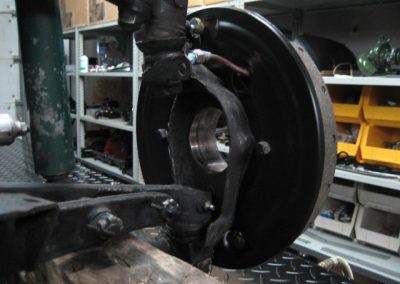
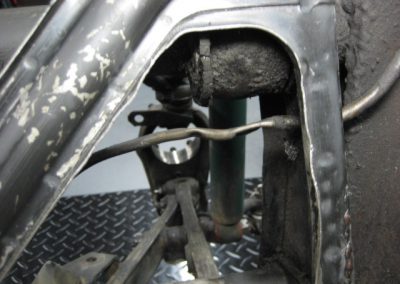
15six_269
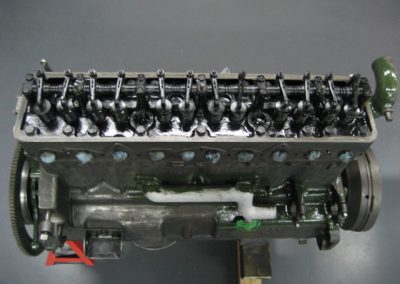
I remove the valve cover to replace the gasket
15six_270
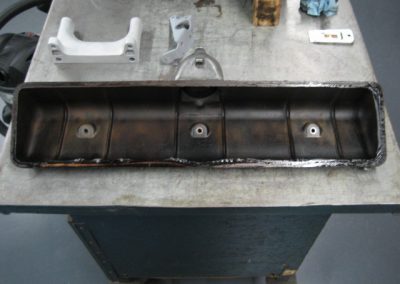
This gasket was in bad shape
15six_271
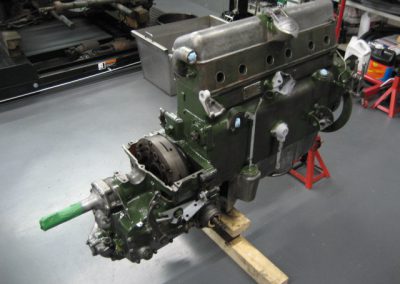
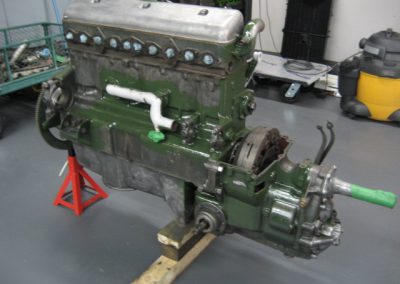
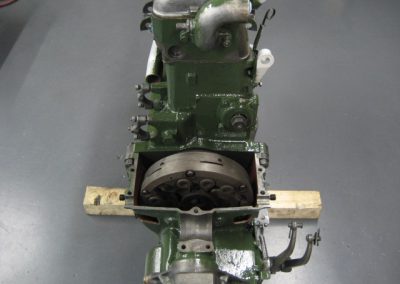
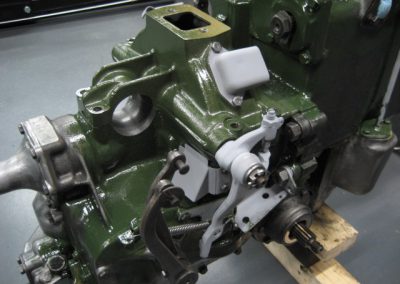
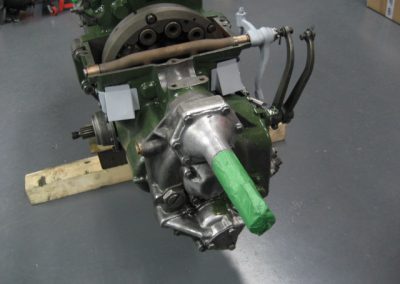
Then I can put the gearbox back into place
15six_273
Here is one of the areas that needs to be painted before putting back the gearbox onto the engine
15six_275
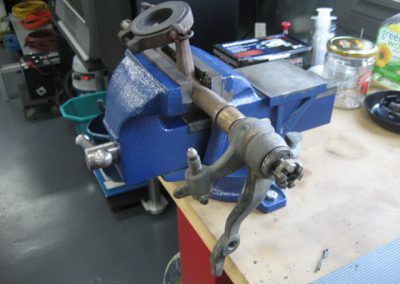
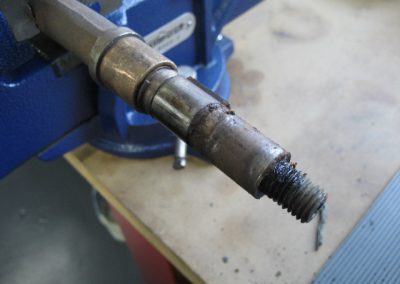
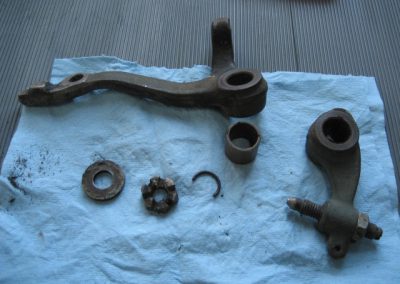
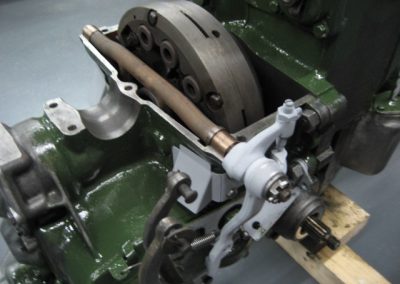
The clutch control arm needs to be cleaned
15six_278
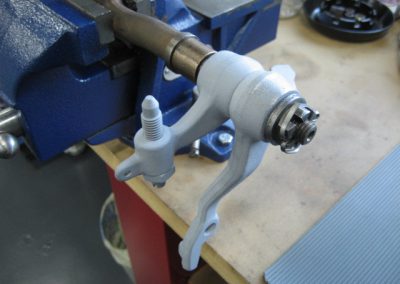
The levers are back into place after sandblasting, primer and lubrication
15six_279
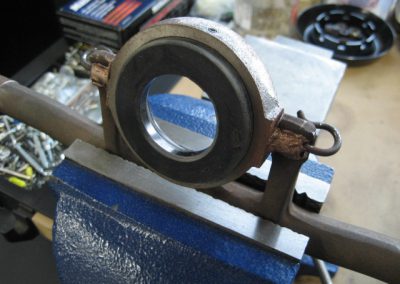
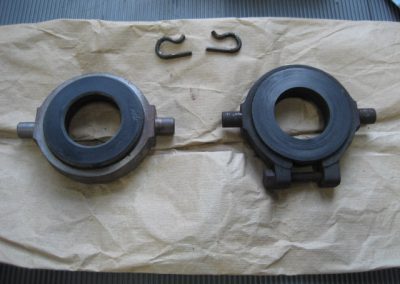
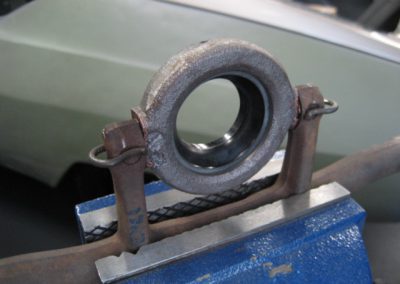
The new release ring doesn’t fit correctly…
15six_280
… it’s slightly different from the original one…
15six_281
… I had to make deeper holes for the holding clamps to fit correctly
15six_283
Here is everything back into place
15six_284
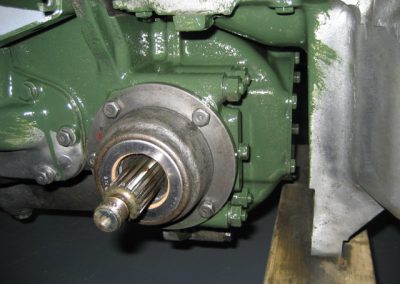
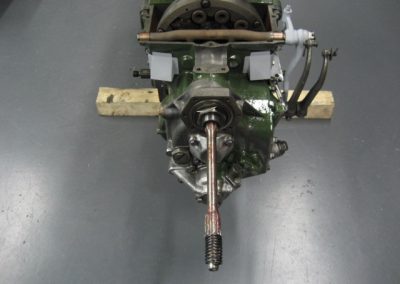
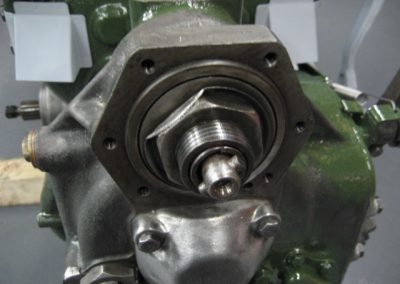
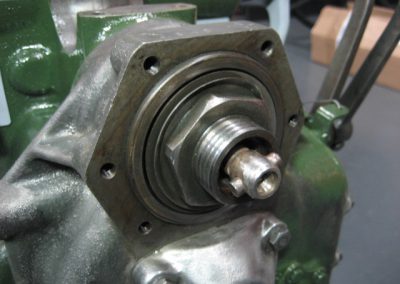
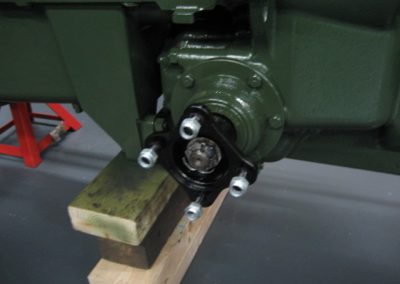
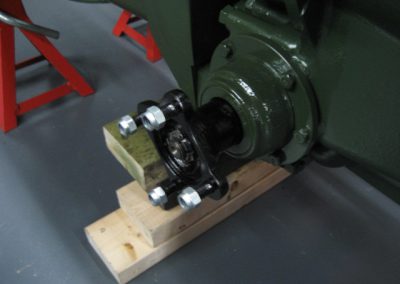
I can then put back the main gearbox axle
15six_285
The axle is easy to install but the holding clip is another story
15six_286
Here is the clip installed, after numerous “f” words 😉
15six_288
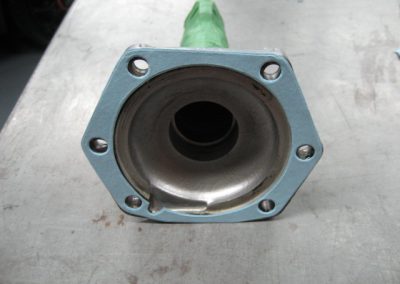
The nose cover is back into place also
15six_289
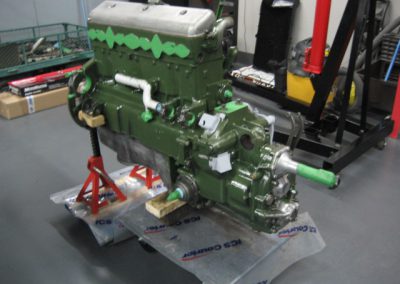
Then I apply a coat of paint on the engine and gearbox blocks, with a paintbrush
15six_290
It will act as a good base coat and on cast iron the paintbrush doesn’t leave marks
15six_291
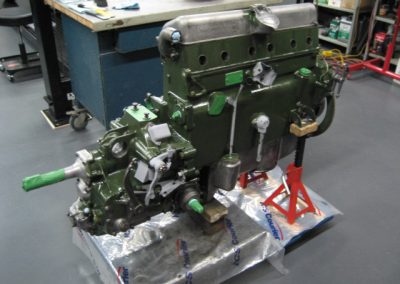
I put back everything I can to paint in one shot
15six_293
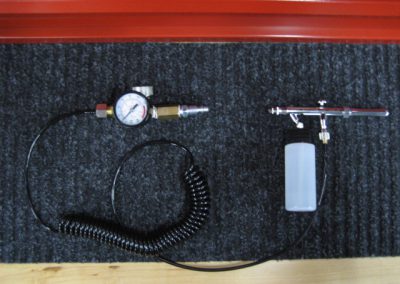
I’m going to use a airbrush to be able to reach areas that are difficult to reach
15six_294
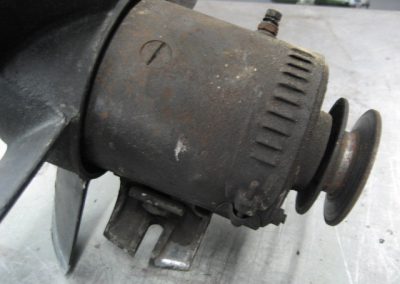
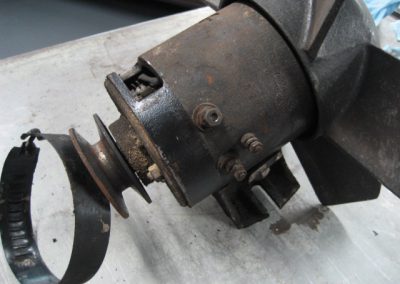
I won’t paint the dynamo in green color…
15six_295
… because even under the cover ring the color is black, so I guess this is the original color
15six_296
I use masking tape wherever needed…
15six_297
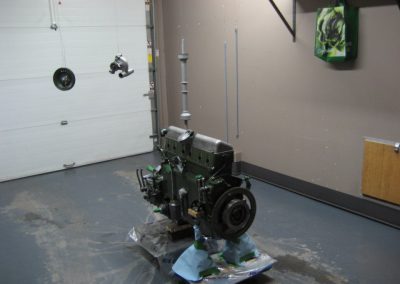
… I install the drivetrain on rolling carts…
15six_298
… I bring everything in the garage I use for my everyday car, it’s separated from the rest of the garage/workshop
15six_299
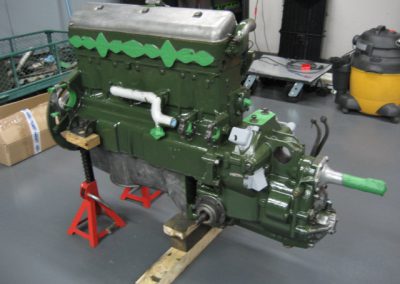
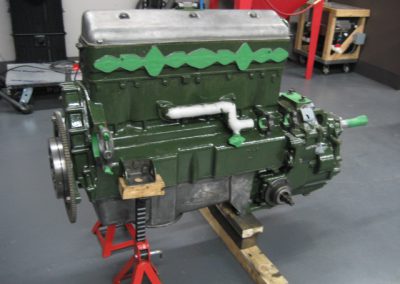
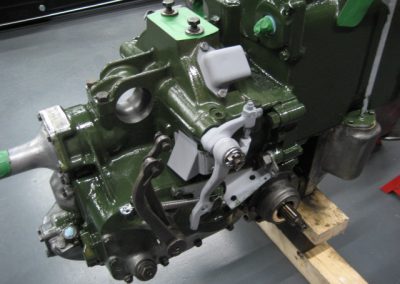
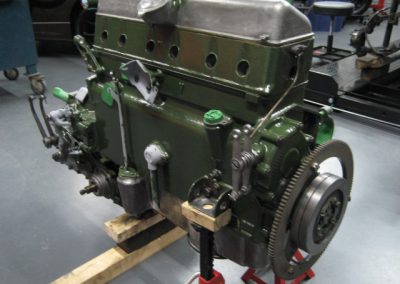
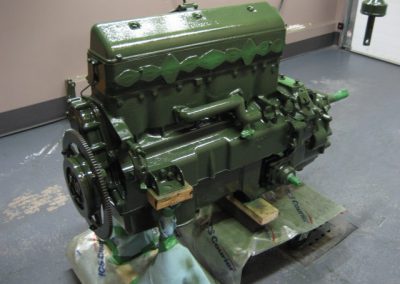
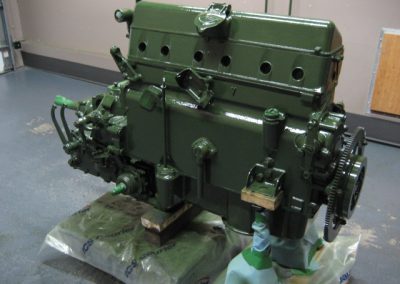
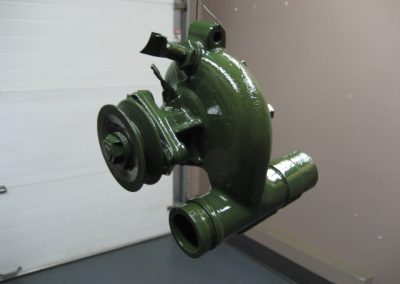
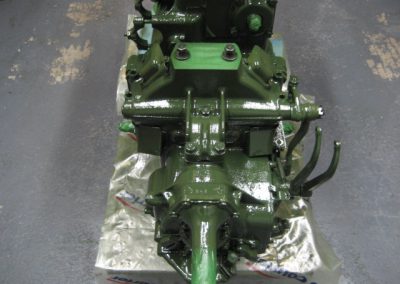
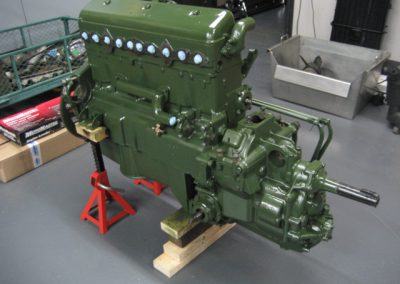
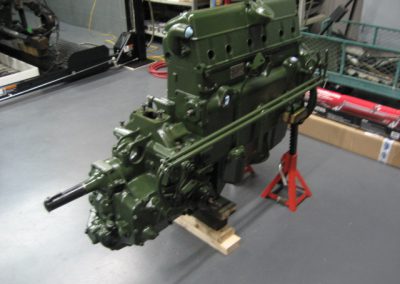
And here is the result after the first coat of paint
15six_300
This is always a polyurethane paint with the RAL6020 color code
15six_301
I’m happy with the overall result
15six_304
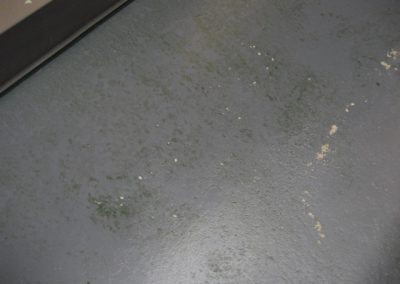
But I didn’t protect enough the garage from paint fumes and projections, so the floor paint I did last year will need to be redone one again. I used water on the floor but it was not enough
15six_305
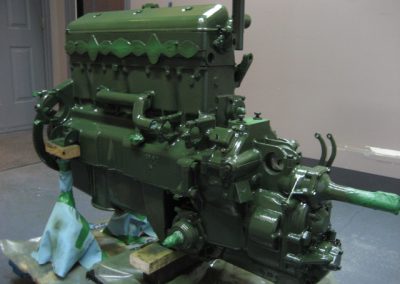
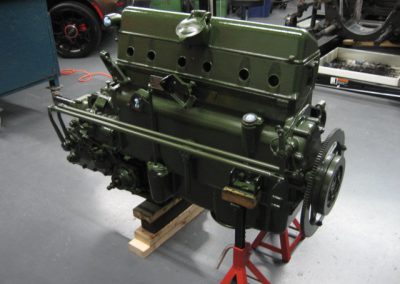
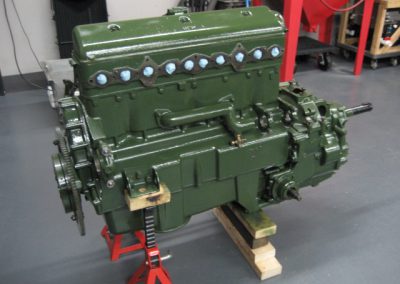
To avoid more damage, I did the second coat outside
15six_306
It looks very nice to me…
15six_307
… even if I’ll have to do some touch-ups, especially underneath the engine
15six_309
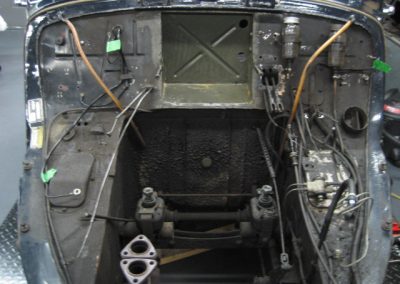
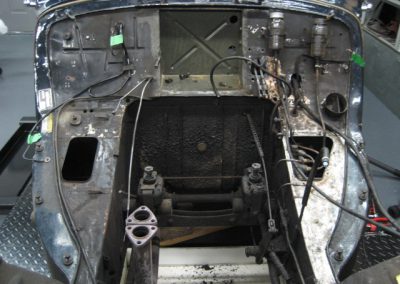
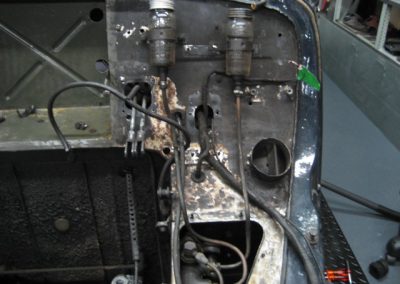
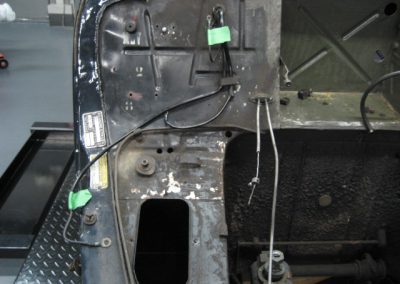
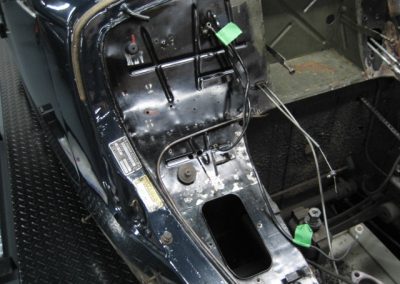
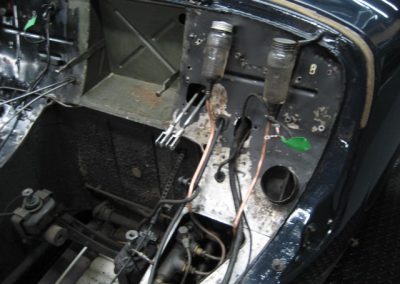
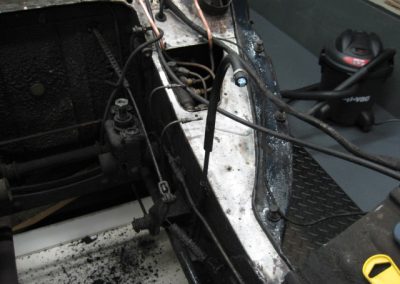
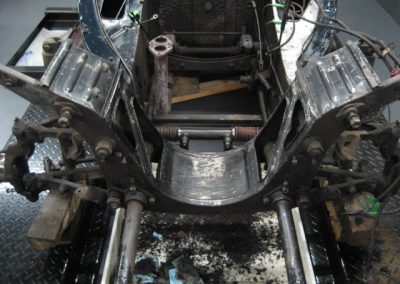
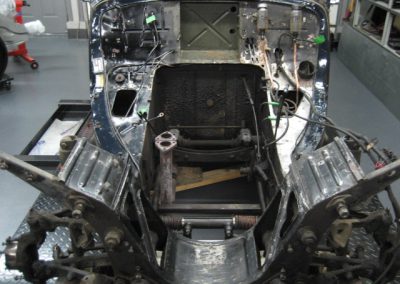
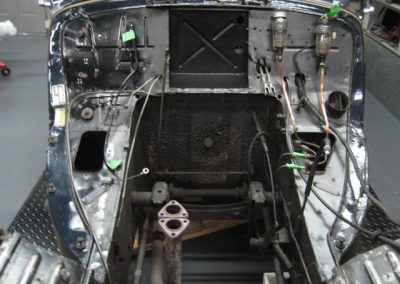
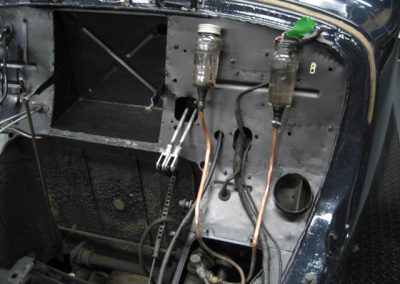
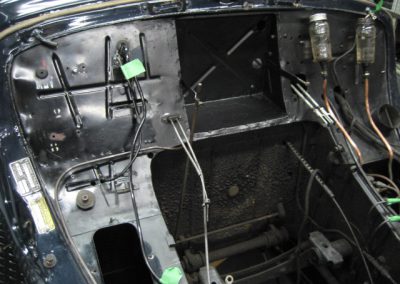
Then comes the time to prepare the engine bay
15six_310
The left side is in bad shape, I can’t simply do some cleaning
15six_311
The hydraulic fluid did some serious damage
15six_312
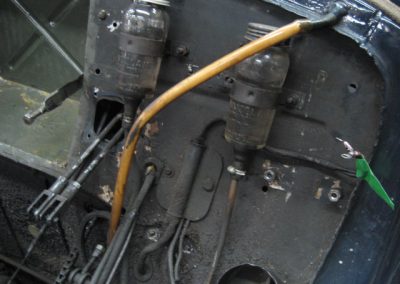
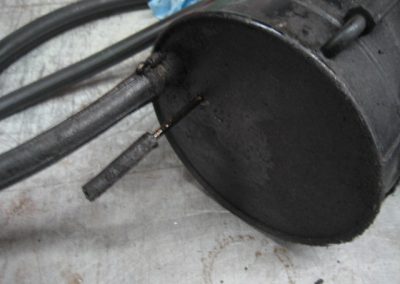
The hydraulic tank will require attention, esthetically, but also because one of the return tubes needs to be welded again
15six_313
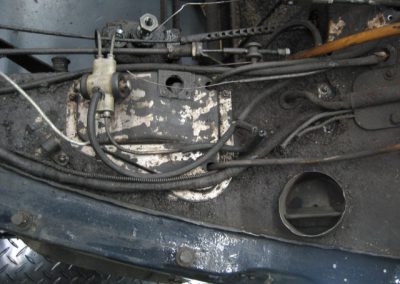
Beginning of the cleaning operation and a bad surprise…
15six_314
… paint disappears at some point
15six_315
On the right side it’s better and the objective is to keep the original manufacturing marks on the fire wall
15six_319
At the front, I do what I can but even after cleaning it’s not very nice
15six_321
To keep the manufacturing marks, I decide to simply apply black paint, to make things clean
15six_322
I initially wanted to apply the exterior color but to do that correctly, it would have been too much work
15six_323
So I just paint to get a clean look. I apply the paint with a paintbrush, the result is “good enough”, not more
15six_324
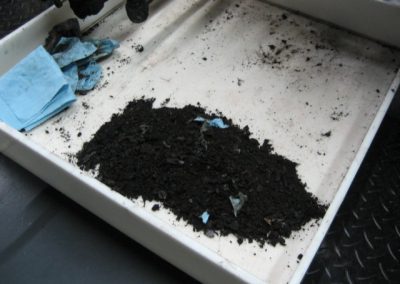
I reduced the car weight with all the dirt I removed 😉 But I didn’t clean the interior of the engine bay
15six_325
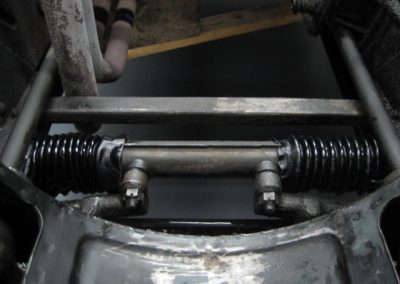
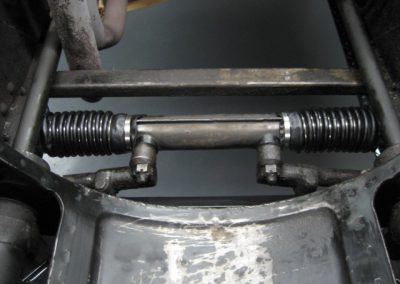
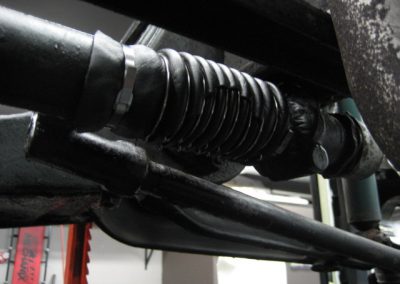
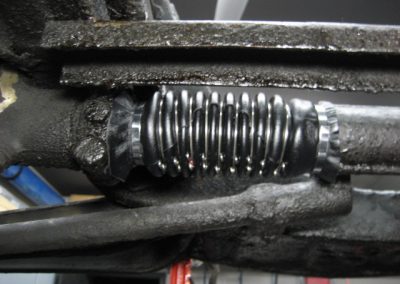
Then I replace the steering cylinder boots
15six_326
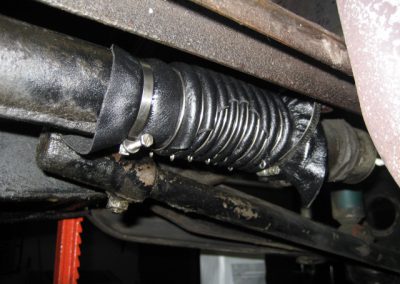
Their installation is not easy, and I suspect the quality of the remanufactured boots, as they don’t fit very well
15six_327
I first reuse the previous clamps…
15six_328
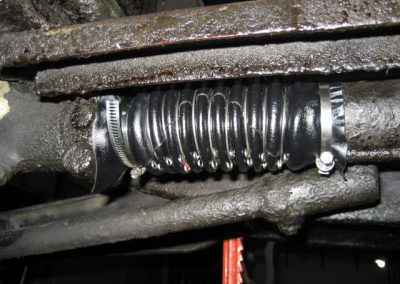
… but I don’t like the result…
15six_329
… so I finally replace them with Ligarex clamps
15six_331
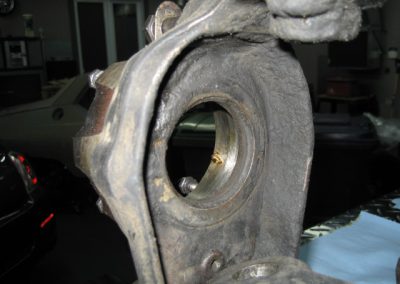
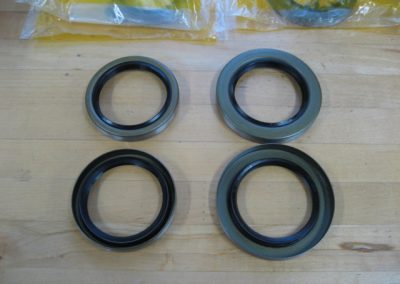
Then I work on the wheel bearing seals (inside the “pivot”, not sure of the exact name). Here we barely see the seal under the dirt…
15six_332
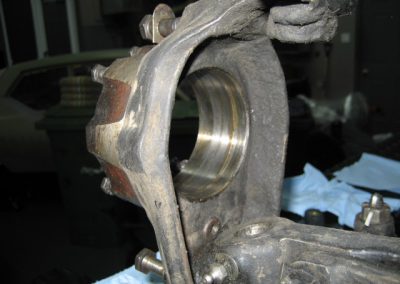
… but once removed, we see the difference
15six_333
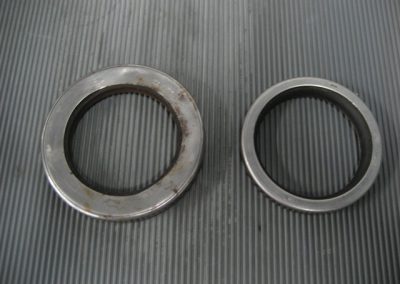
Here on the left this is the exterior seal (transmission side) and on the right side this is the interior seal (brake drum side). I’ll try to fond similar seals because I don’t like those sold by the Traction Avant parts specialists, as I don’t want to have the same issue I had with the seals on the transmission axle housings
15six_334
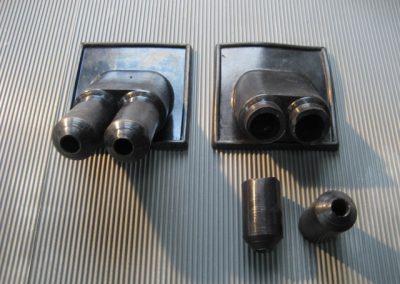
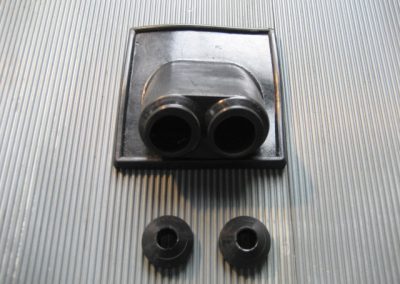
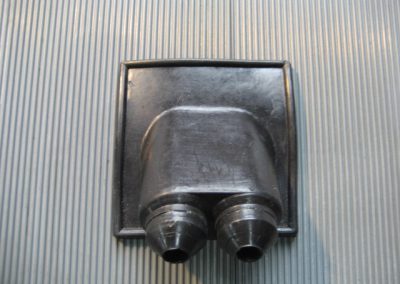
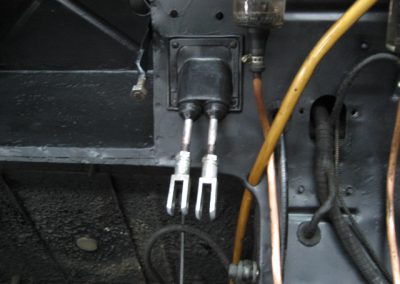
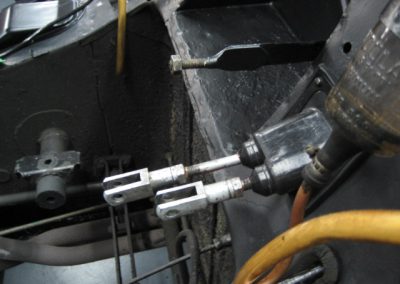
Here is another issue with remanufactured parts: the rubber part covering the gearbox control lever is too long…
15six_335
… so I cut to keep only the end portion…
15six_336
… and here is the result after gluing back the pieces together
15six_338
It’s clean and levers won’t touch the rubber even in extreme position
15six_339
Here are the transmission plates back into place, there are new, hoping they will be leak-free (but once again, they are remanufactured parts so I’m not sure)
15six_341
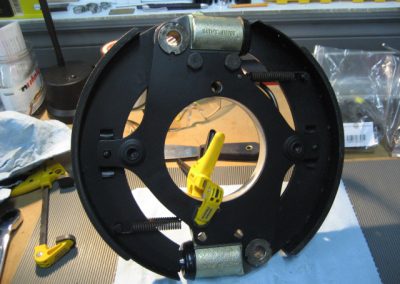
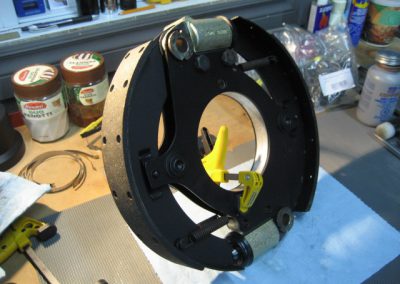
Then comes an important step, reassembling the front brakes
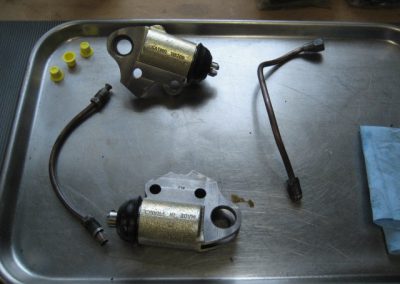
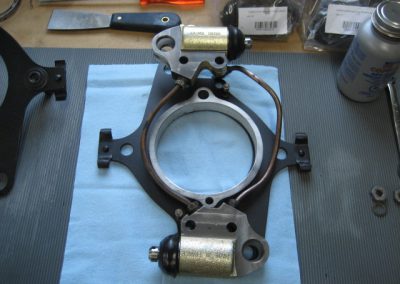
15six_342
Cylinders are new and I repainted all sheet metal parts so it’s quite nice
15six_343
Both plates have to be kept together, but for the moment it’s not difficult or risky
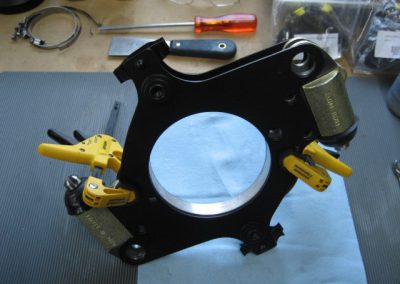
15six_345
This is when you put the springs back that the operation becomes difficult…
15six_346
… if you don’t strongly keep the plates together, springs can fly easily up to your face 😉
15six_347
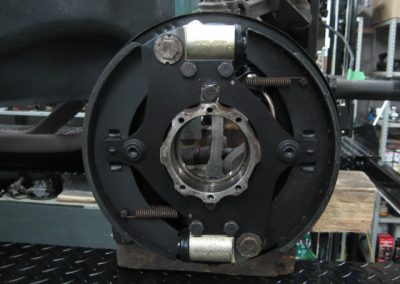
Here is everything back into place on the right side
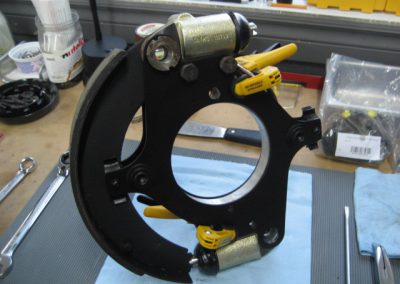
15six_348
Brake shoes are new. They have been glued into place, not riveted
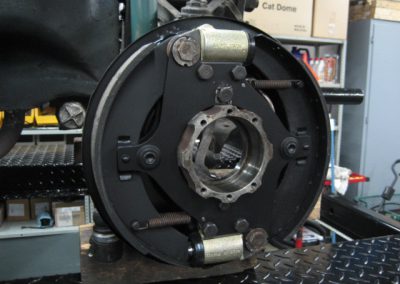
15six_350
Same result on the left side. I’m proud to not have received any spring into my eyes 😉
15six_352
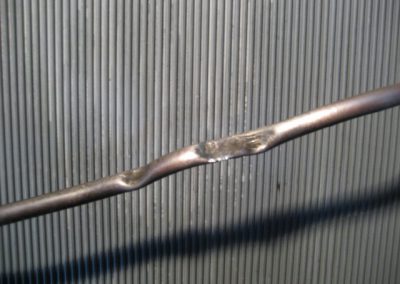
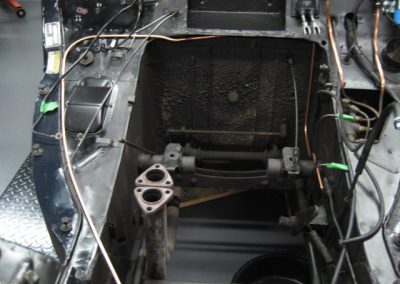
Speaking about brakes, I discovered that the brake line was damaged on the right side…
15six_353
… it can’t be repaired…
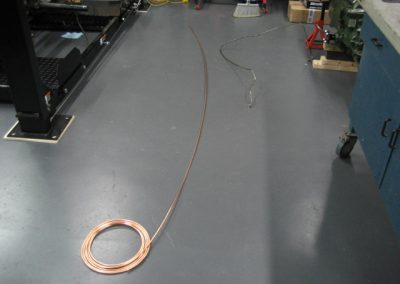
15six_354
… so my supplier sells me a copper tube, even if I have little doubts about the original material
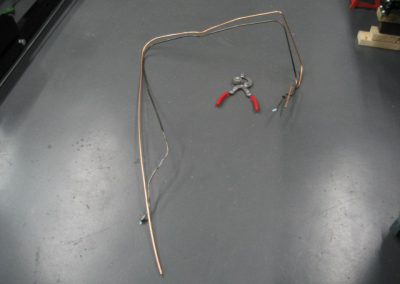
15six_355
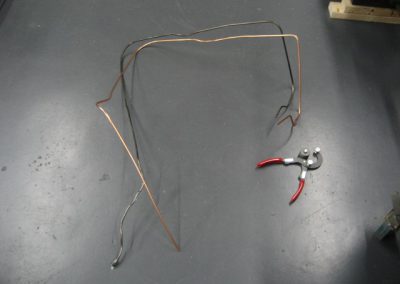
I shape the tube the best I can
15six_357
It begins to take shape…
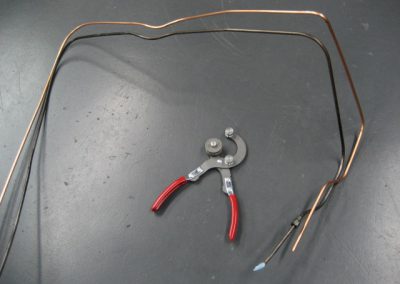
15six_358
… but when I cut both tubes I clearly see that the original tube is stronger, so it’s not simply made of copper, at least not 100 %…
15six_359
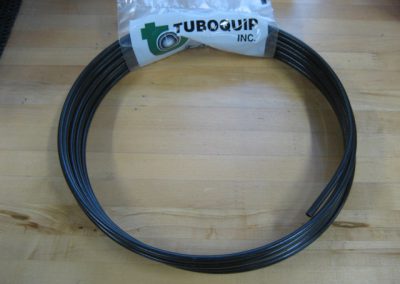
… so my supplier sells me a steel tube especially designed for brake lines. It’s protected from corrosion, it explains the green color and the inside seems copper coated or something like that. It should do the work but it will be harder to shape !
15six_360
I found the seals for the wheel pivots, they are made from steel, that’s what I was looking for, so I hope they will be easy to install
