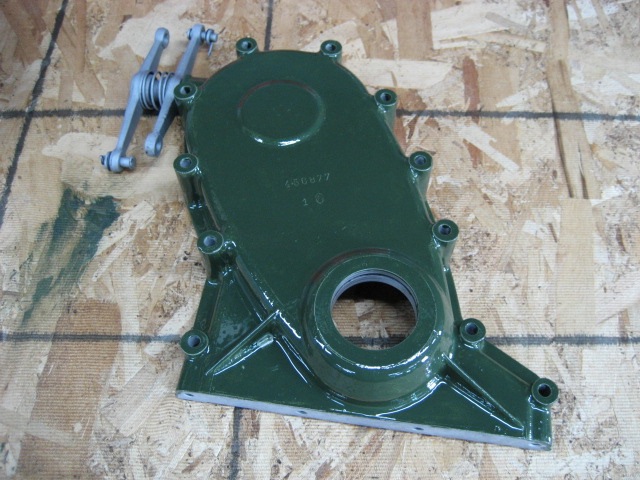
Note that I’m using polyurethane paint prepared with the color code RAL 6020. This is a code I found on various forums dedicated to the Traction, it gives good results.
15six_209
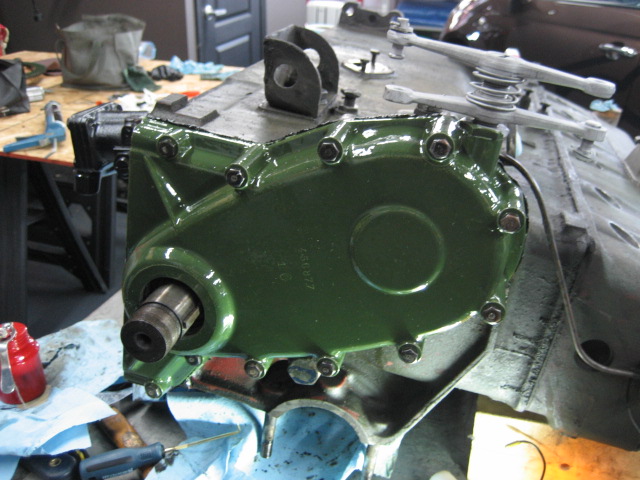
Here is the timing cover after sandblasting and painting, with a paintbrush
15six_210
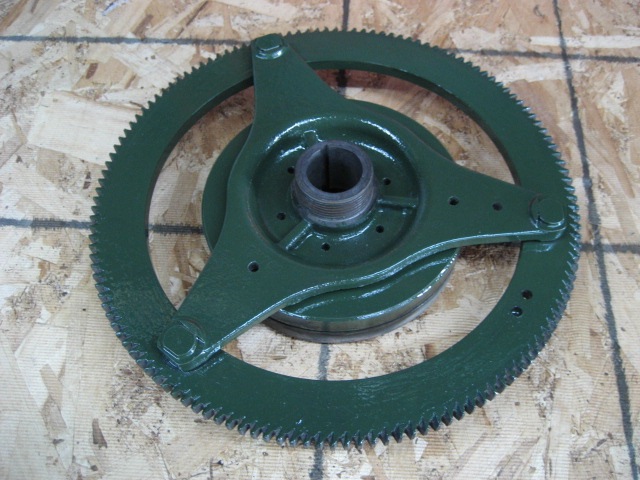
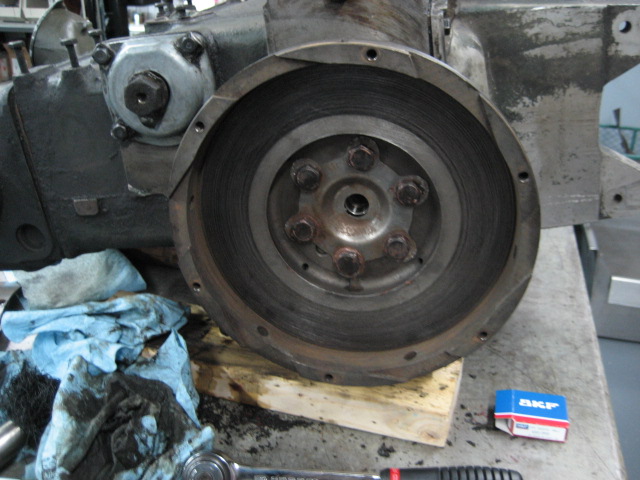
Here, the crank plate (don’t know if it’s the right name but you see what I mean 😉 )
15six_211
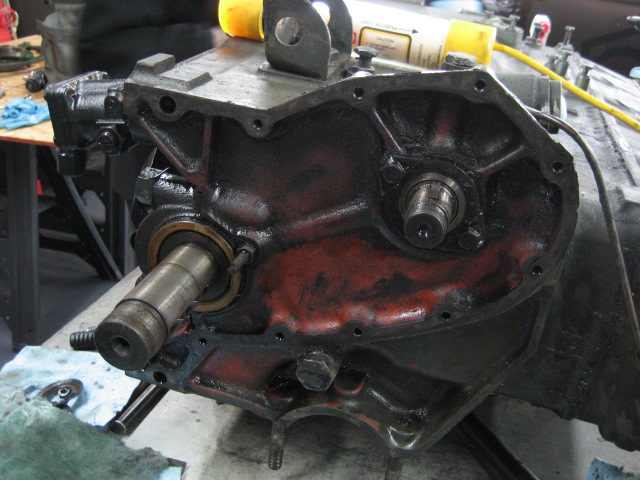
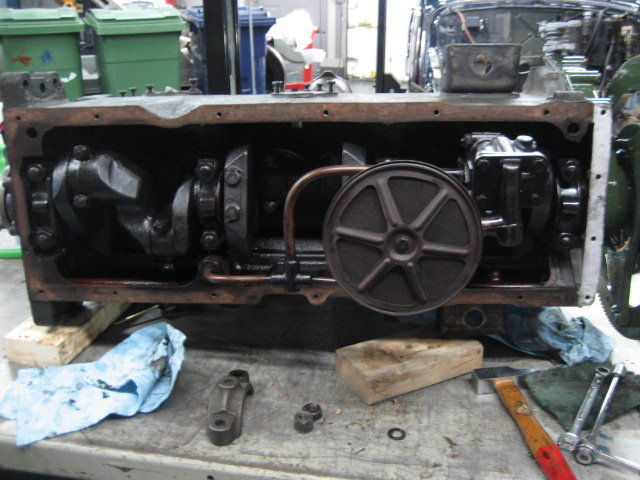
With Claude, we start here
15six_212
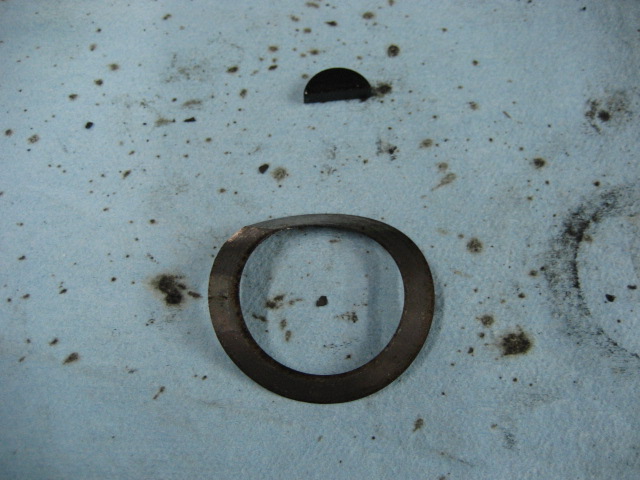
After checking the crankshaft clearance, Claude decides to remove one of the adjusting washers to reduce the gap. Each washer is 0.05 mm thick I believe
15six_213
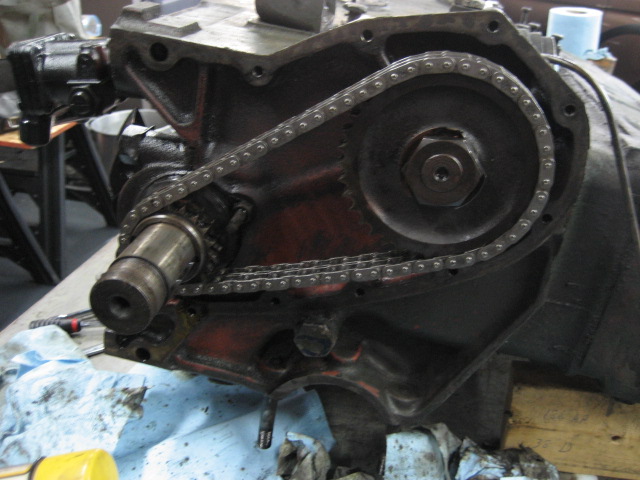
Then we put back the timing gears with the new chain. The right gear is tighten with huge force, using an impressive extension
15six_214
Then we close…
15six_215
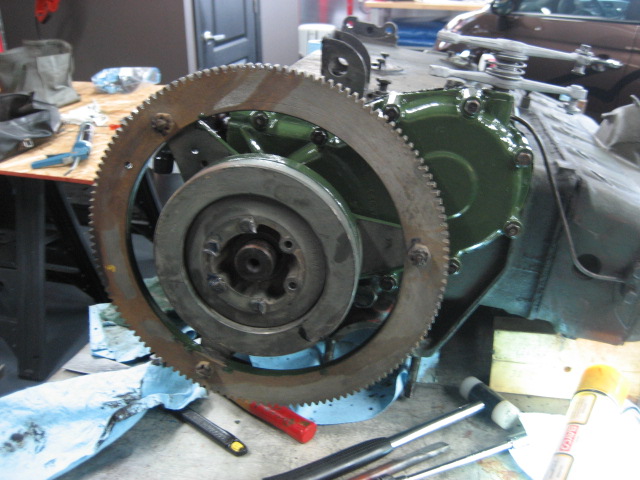
… and we put back the crank plate with, once again, huge force applied on the dented nut

15six_216
I even installed a brand new locking plate, that’s true luxury 😉
15six_217
Before closing the bottom of the engine, we put back the oil pump grill, which required a good cleaning as it was packed on most of its surface

15six_218
We install a brand new gasket…
15six_219
… and then the oil pan is back on
15six_220
15six_221
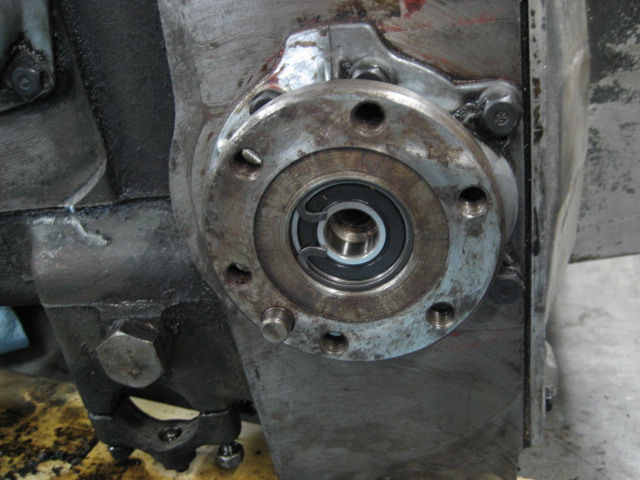
On the front side, we start by installing a new bearing for the gearbox axle
15six_222
15six_223
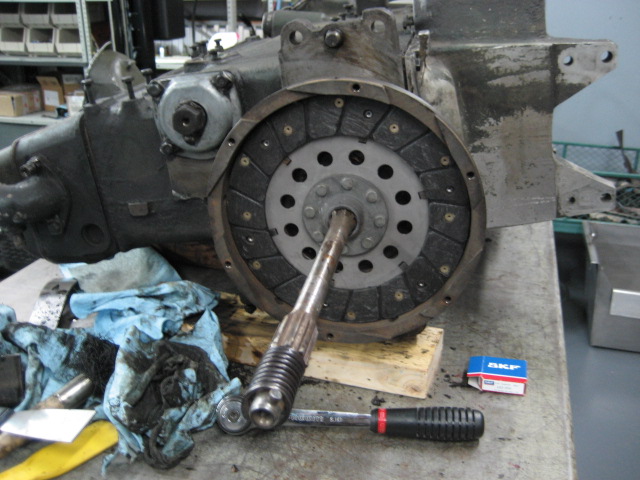
Here is the new clutch disk. There is no need for a centering tool, we simply use the gearbox axle, thanks Mister Citroën
15six_224
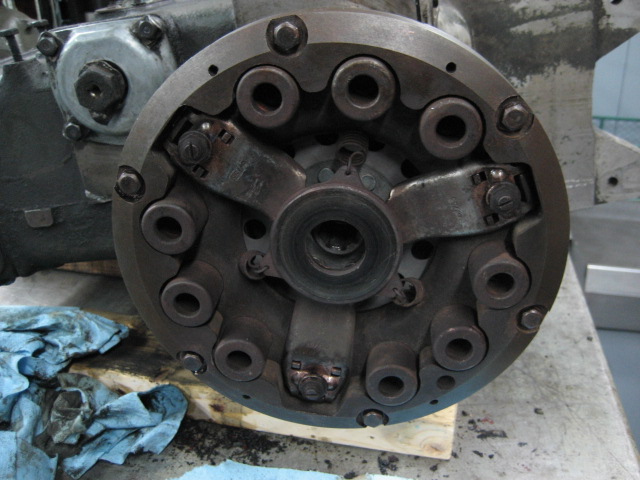
Claude believes the clutch plate is good enough, so we just put it back after cleaning and lubricating
15six_225
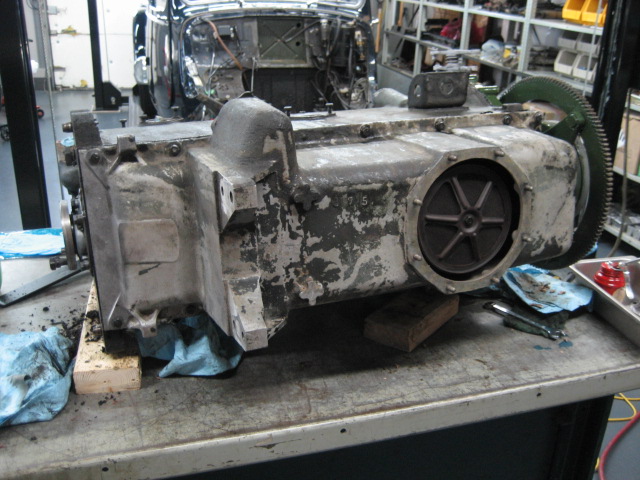
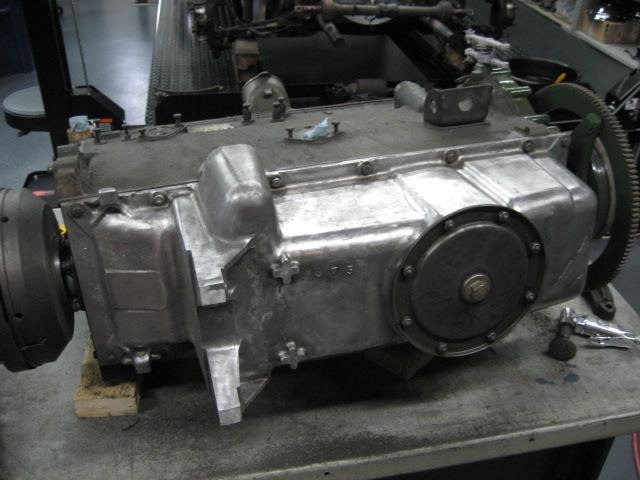
Now that the engine is closed, I’m alone and ready for a long cleaning phase, which starts with the oil pan
15six_226
Then the rest of the engine
15six_227
15six_228
15six_229
15six_230
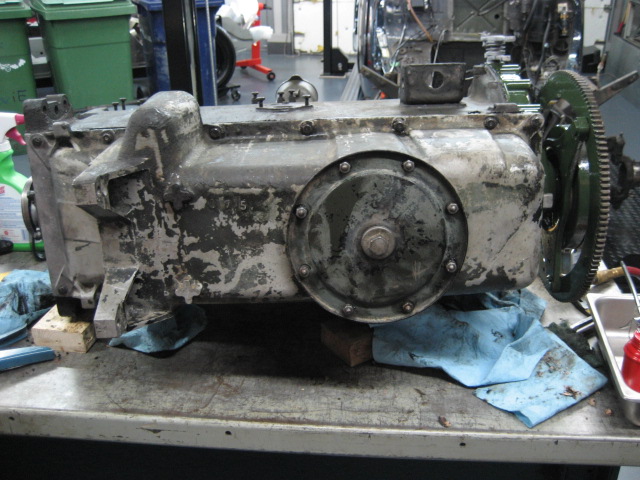
A lot of very boring hours of brushing and scrapping to get to this result
15six_231
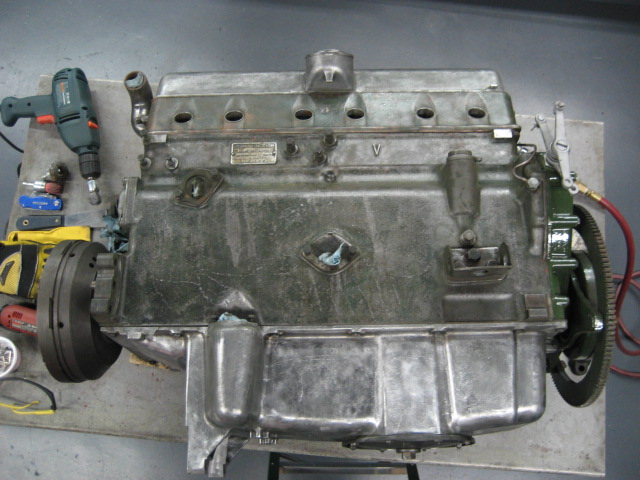
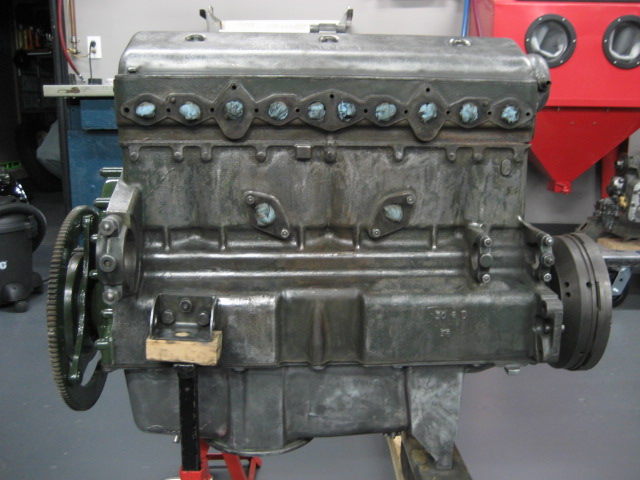
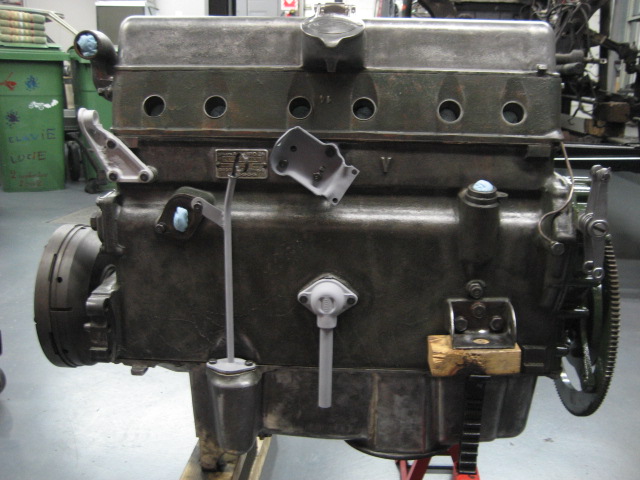
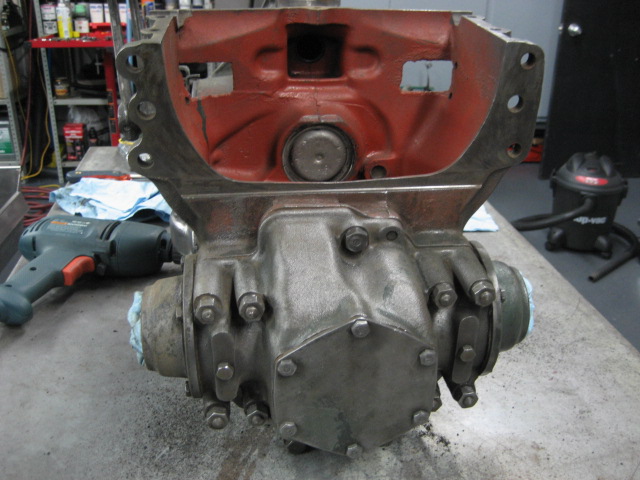
After sandblasting them, I put back some parts on the engine because they need to be painted at the same time
15six_232
I put some primer on non-aluminium parts to avoid getting rust on them before being ready to paint
15six_233
15six_234
15six_235
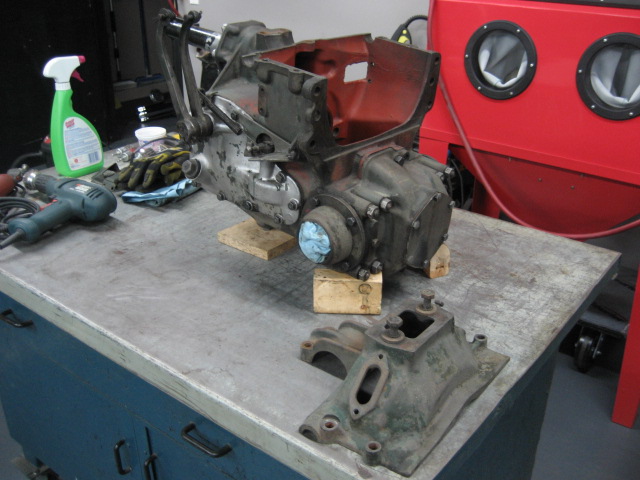
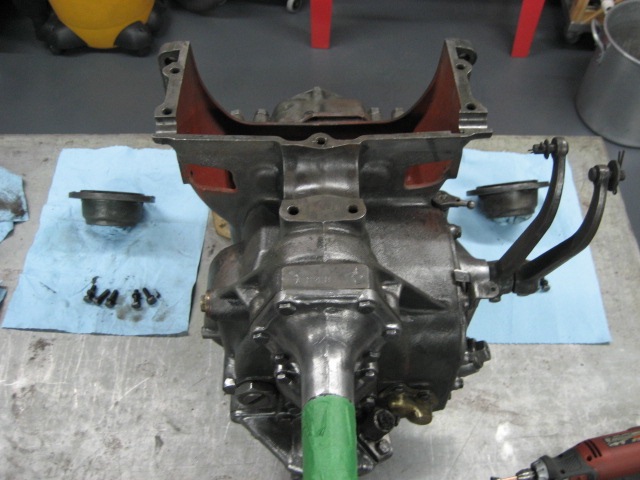
Same brushing and scrapping operations on the gearbox
15six_236
15six_237
15six_238
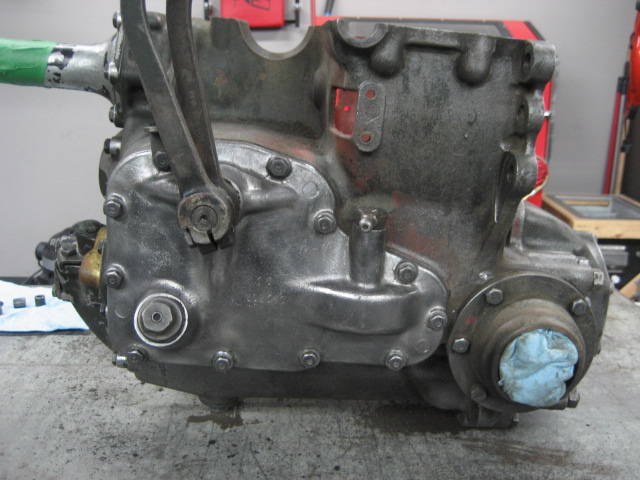
15six_239
15six_240
15six_241
15six_242
15six_243
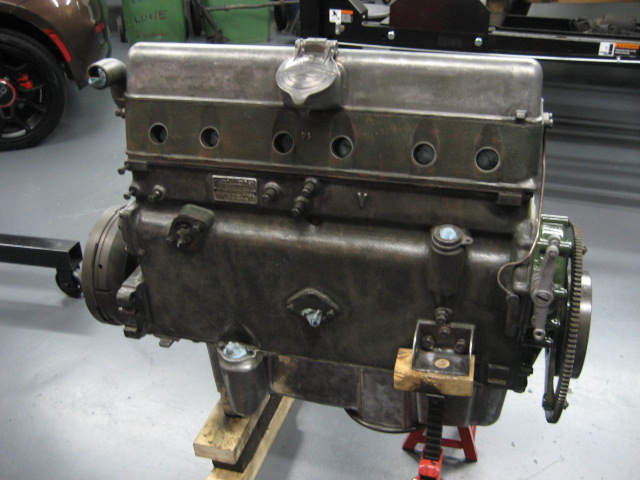
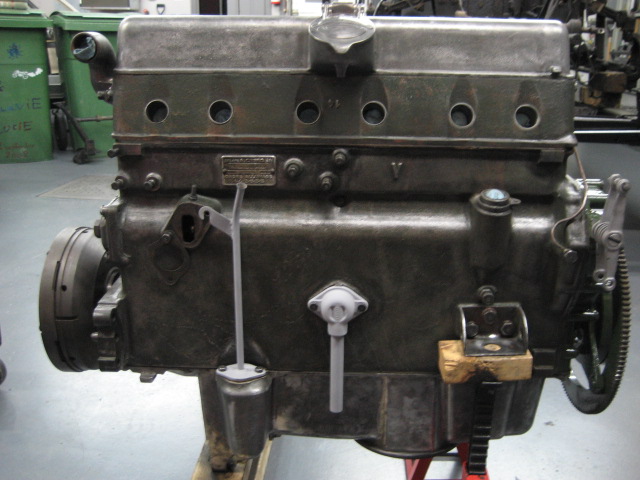
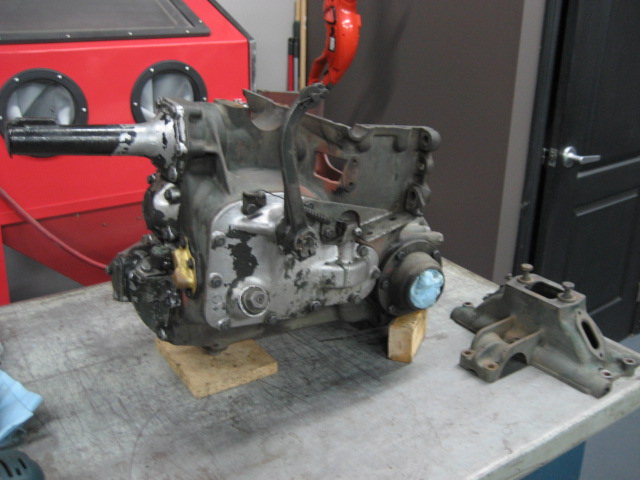
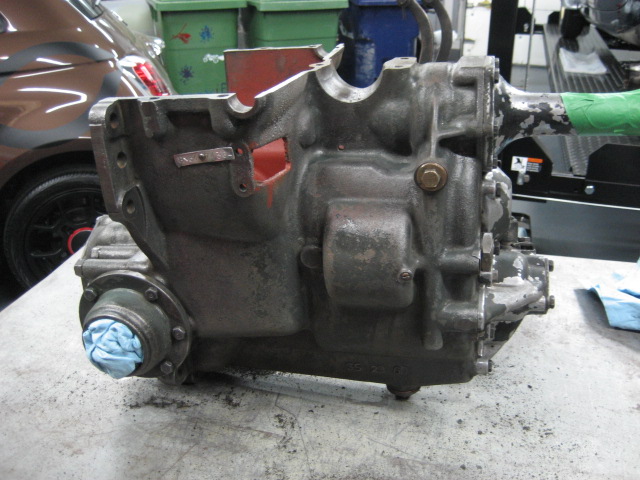
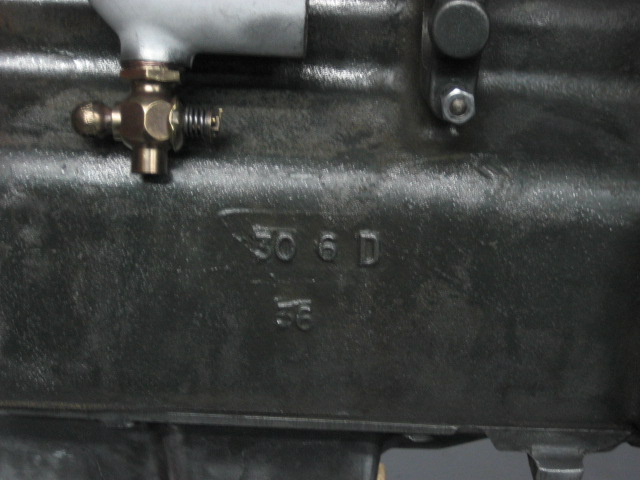
This preparation is the occasion to discover the molding markings on the engine. The “6D” at the end of this one means that the engine block has been molded during June 1954
15six_244
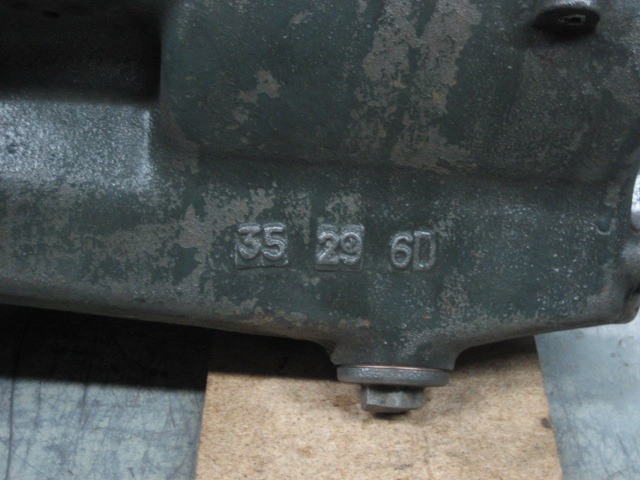
Also, the “6D” marking on the gearbox has the same signification. So it seems to confirm that the engine and gearbox are the original ones. Good news !
15six_245
I then do some sandblasting on the gearbox levers and here is one I took out of the sandblasting cabinet…

15six_246
… to show you how thick was the layer of paint, dirt and other unidentified products. But the good news is that all that mess did a good protection job
15six_247
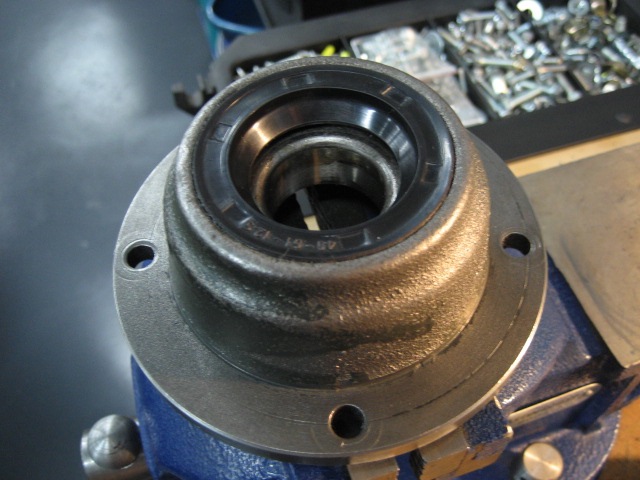
Then starts a tricky task: reinstalling the lip seals on each transmission axle housings. At first, this is not too bad, with a first seal installed, using a wheel bearing as guide and using a hammer with significant force…
15six_248
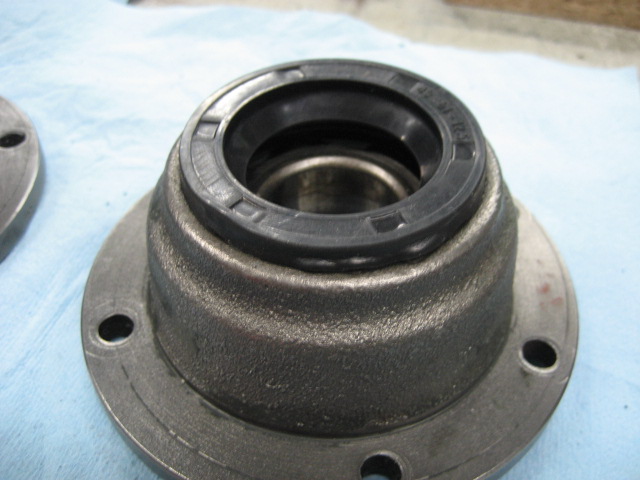
… but then it goes very bad, I damage all three seals I have, like this one
15six_249
Once removed, we clearly see damages all around the seal, it’s obviously too big
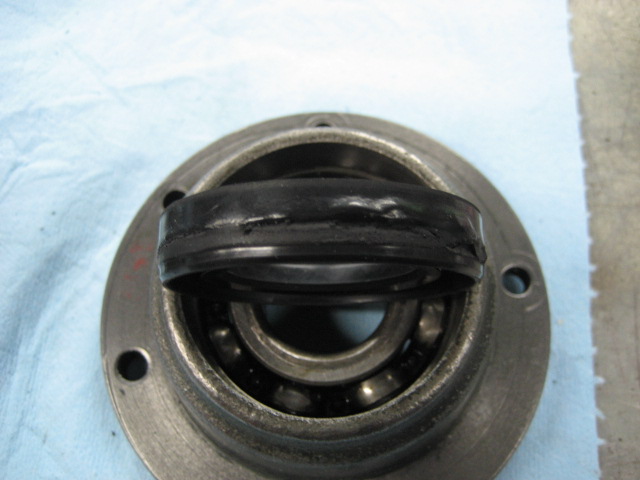
15six_250
With a hydraulic press or a bench vise, it just doesn’t work, the seal is soft enough to compress itself and lose its shape, but it doesn’t go into place correctly
15six_251
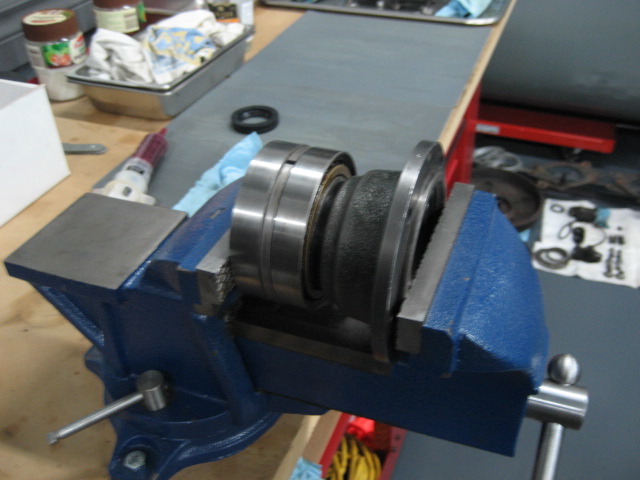
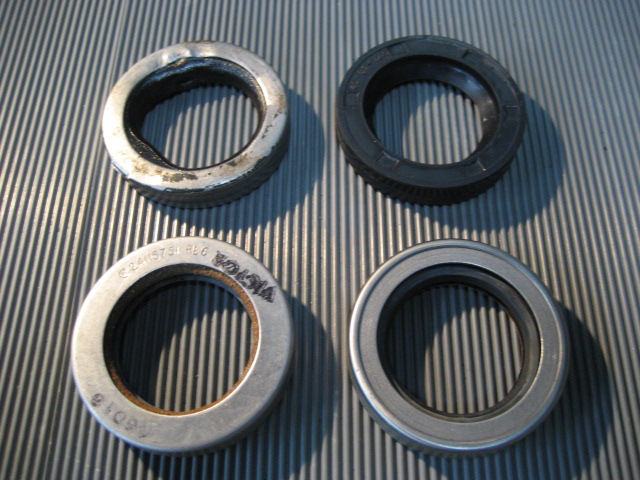
So I go to a local seal specialist with the original seal (upper left), the one sold by Traction parts suppliers that doesn’t fit (upper right) and he finds in his stock the seals shown at the bottom of the picture (both sides). Awesome ! They are made from steel, so they should be easy to install, without losing their shape and bend all the time
15six_252
And as expected, after a few seconds, each seal goes into place without complaining. Here is a big problem solved, the good way I believe, using the right part at the right place
15six_253
I’m very happy with the result, and it looks the same as the original seal
15six_254
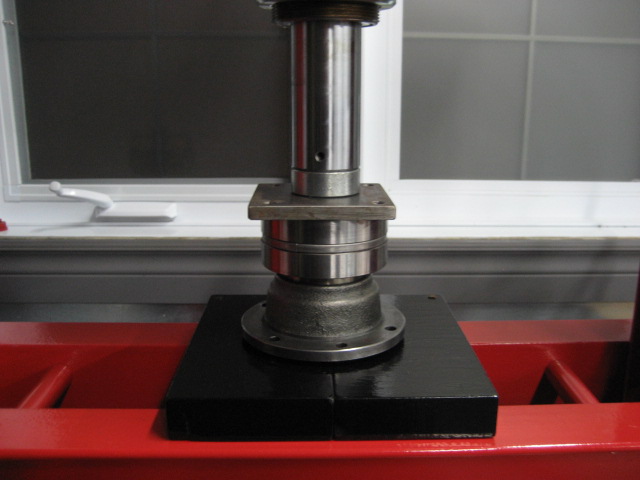
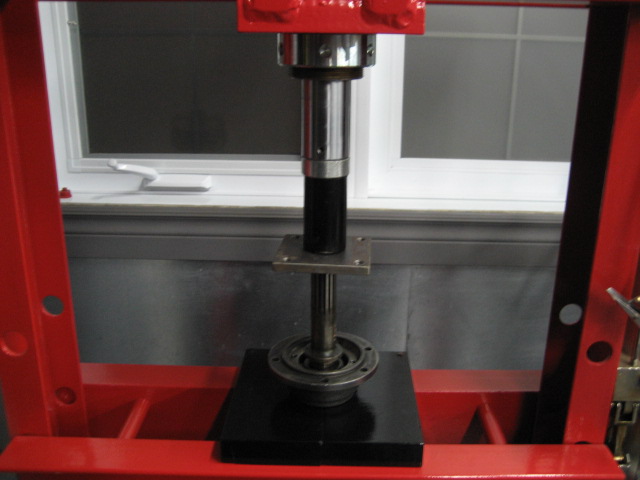
Axles then go in each housing, also with the press, and that’s easy also…
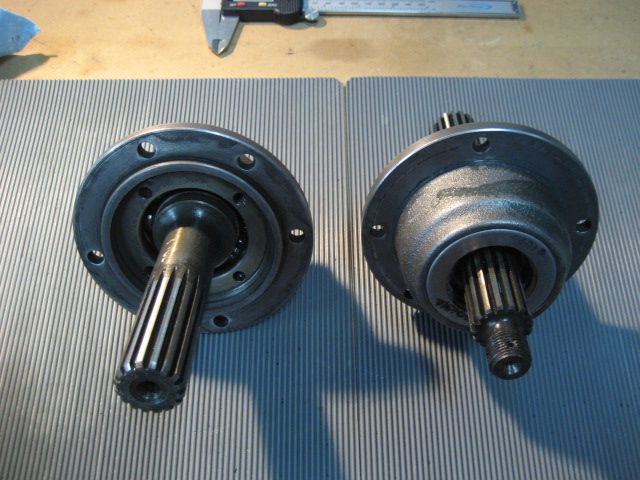
15six_255
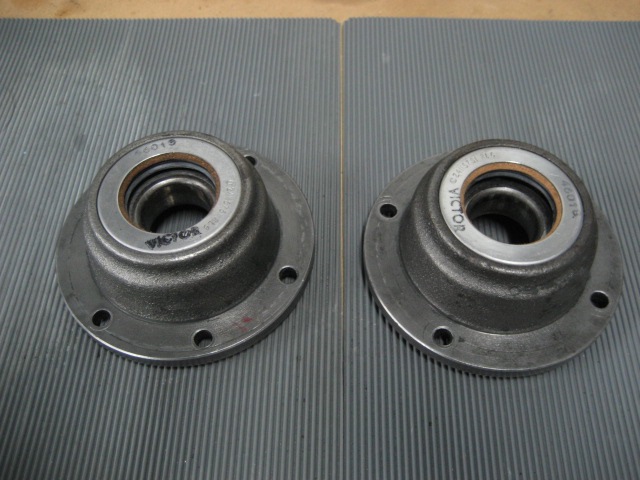
… here are both housings ready…
15six_256
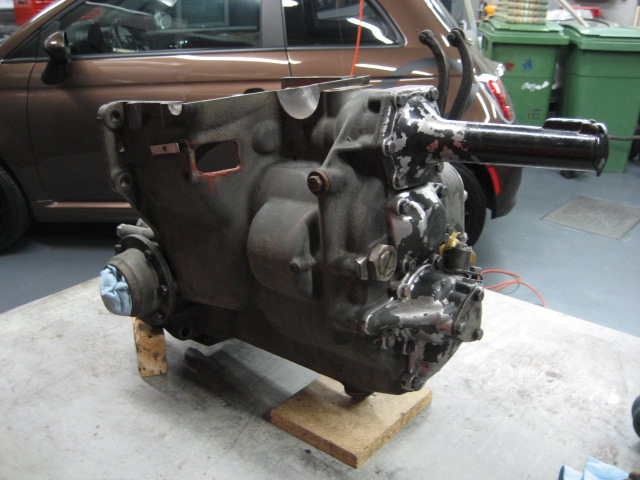
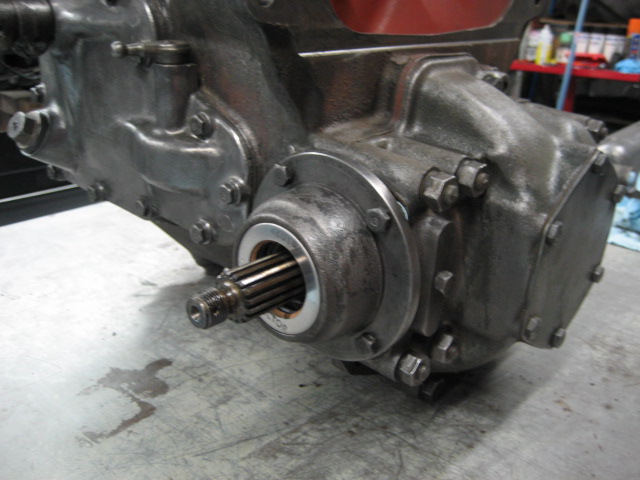
… and here is everything back onto the gearbox

15six_257
15six_258
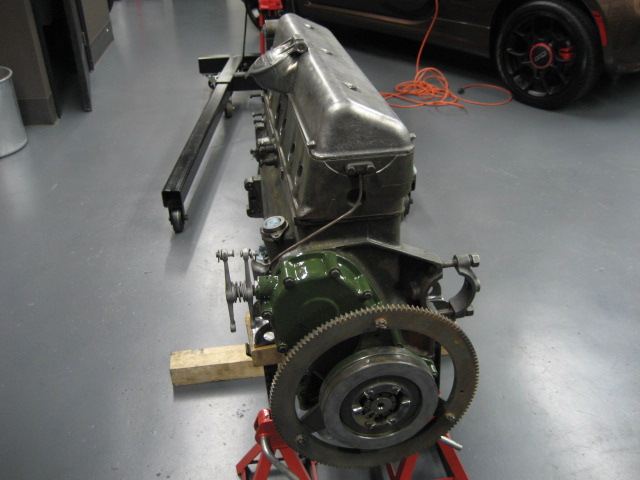
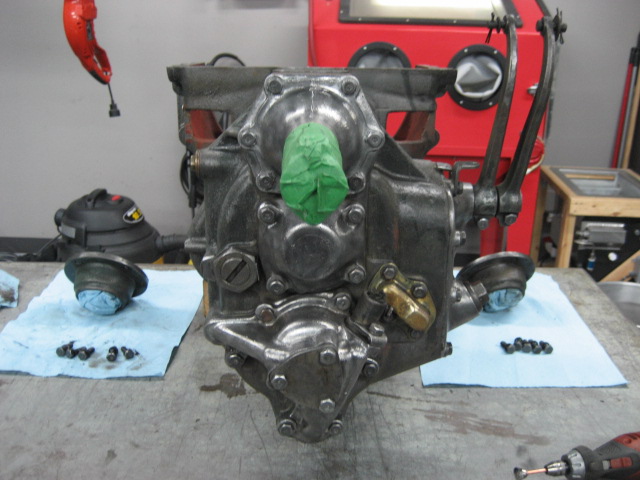
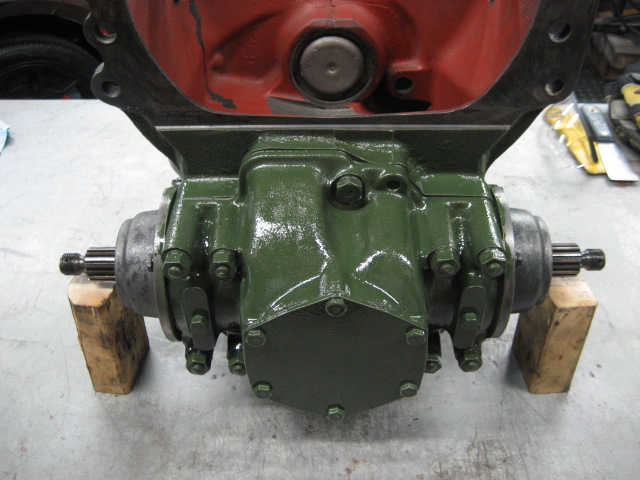
I want to paint the drivetrain with a paint gun in one piece so I prepare with a paint brush some sections that will be difficult to reach, or not reachable at all, with the gun, once the gearbox will be back onto the engine
15six_259
15six_260
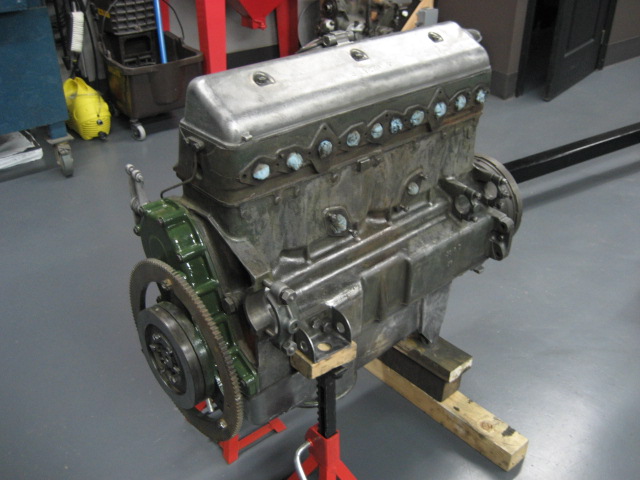
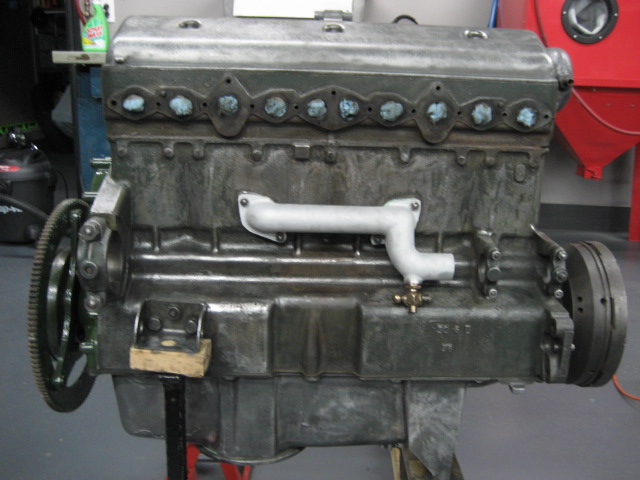
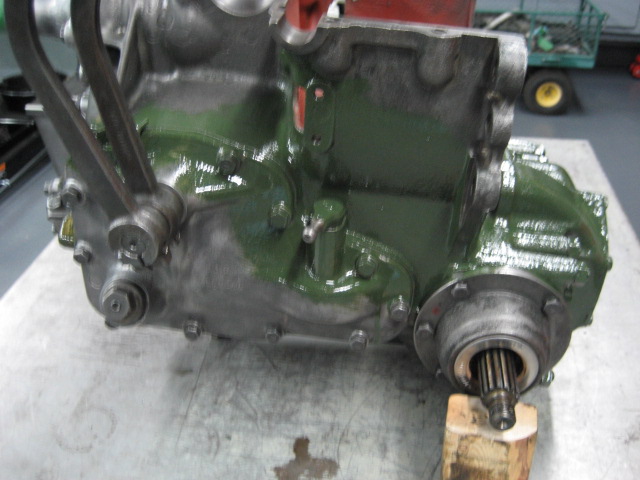
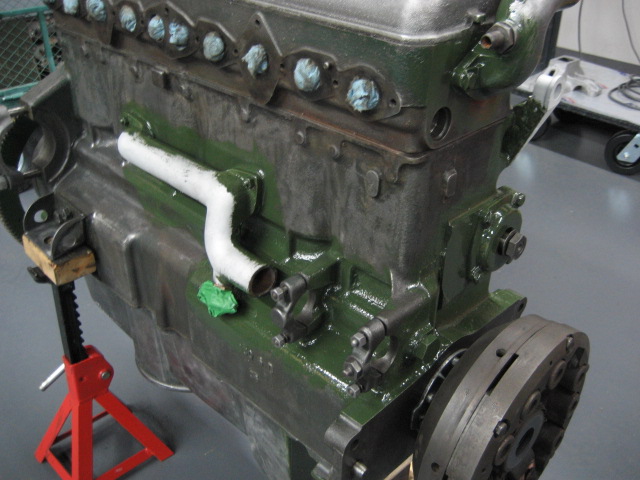
Same thing for the engine, I prepare some sections difficult to paint. In fact the result is that I may extend this preparation to the whole block and head, to be confirmed
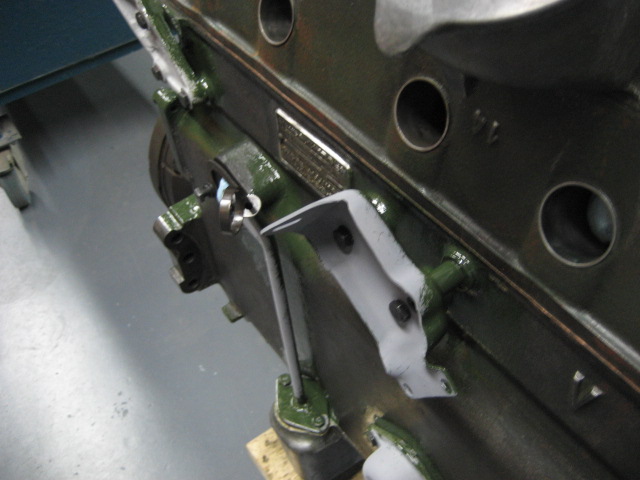
15six_261
15six_262
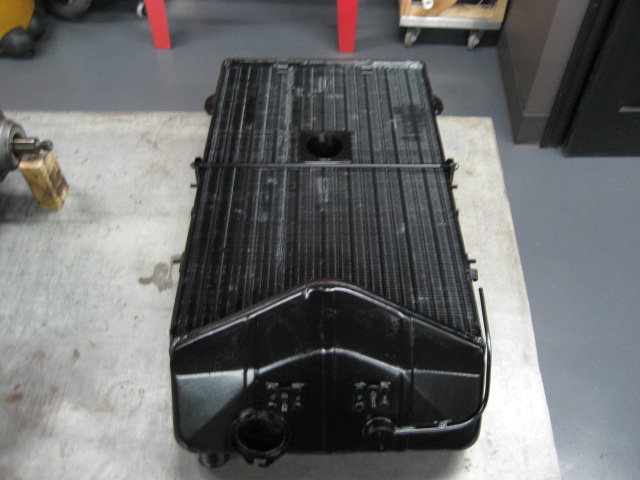
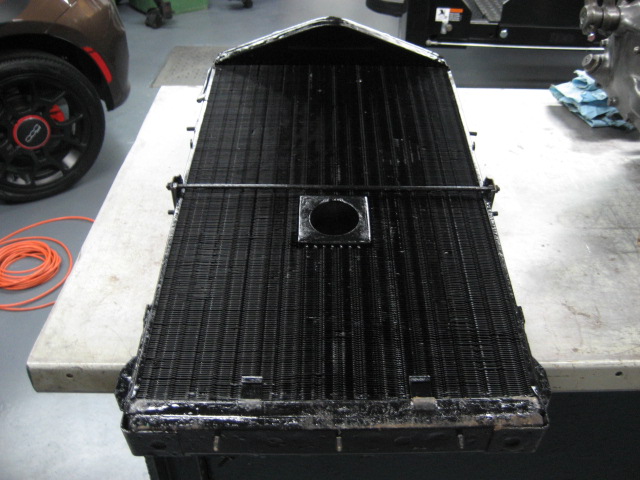
I’ve sent the radiator to a specialist for an overall check and cleaning but he’s not a paint specialist…

15six_263
… the paint is way too shinny…
15six_264
… and preparation before paint was not sufficient !
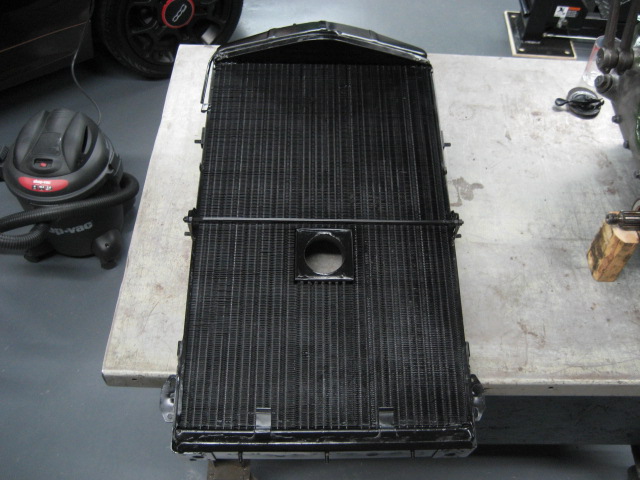
15six_265
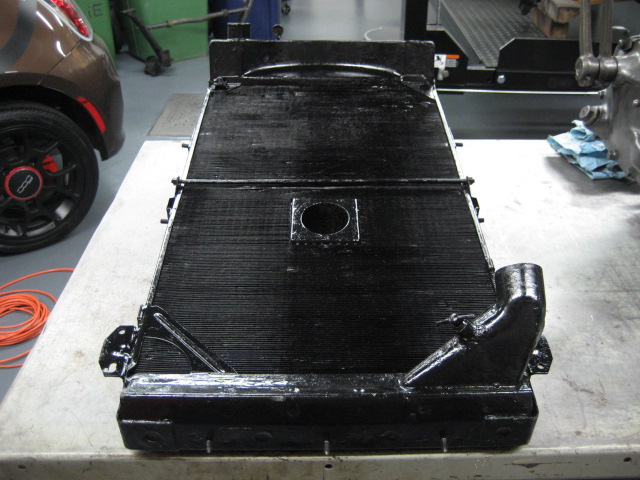
So I ask another specialist to remove that paint and clean everything again. Then I do the paint myself…
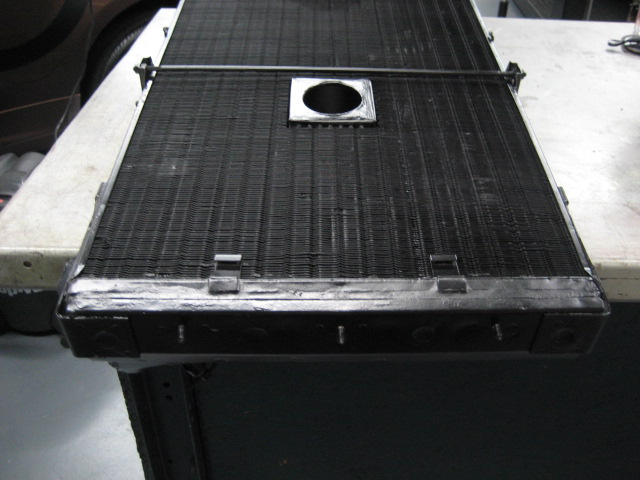
15six_266
… this one is significantly better, even if I again think that it’s a bit too shinny…
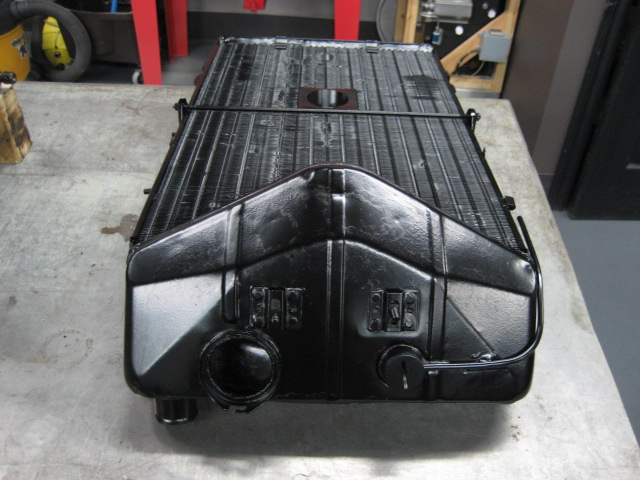
15six_267
… I should not have switched to a different paint brand but my usual paint was not available when needed